If you're looking for a quick and easy way to fix a puncture and inflate your tyre at the same time, look no further than BAM!, which stands for "Bottled Air Magic".
BAM! works by injecting a latex foam into your tyre or tube, sealing punctures, and inflating the tyre all in one. It's compatible with inner tubes, tubeless, and tubular tires, and contains no ammonia, making it compatible with most sealants out there – Awesome right? On top of that, you don't have to wash it out after use, and it's designed to create a permanent fix.
It's the perfect emergency backup for those times you get caught out on the trail.
How do you use it?
Check out our video on how BAM! works:
Or if you'd rather read how to do it, check out our step by step guide below:
- Step 1: Find the cause of the flat tyre.
- Step 2: Remove any debris, being careful when doing so in case there's anything sharp in there like glass.
- Step 3: Once the tyre is clear of debris, move the valve to the 12 o'clock position and open the valve core up. Make sure you push the valve core in to check the airways clear.

- Step 4: Grab your can of BAM and give it a good shake, then line the can up with the valve and make sure the pink nozzle is completely straight.
- Step 5: Push up firmly enough so the sealant can flow freely into the tyre and continue to hold until it’s sufficiently inflated - If the hole is quite large, you can hold your finger over the hole to help the sealant cure whilst BAM is inflating the tyre.

- Step 6: Once you're happy with the pressure, remove the can by pulling it down off the valve and tighten the valve core.
- Step 7: Give the wheel a quick spin, wipe any excess foam around the valve, and with the tyre now up to pressure and the puncture sealed, you're good to put it back on your bike and hit the trails again.

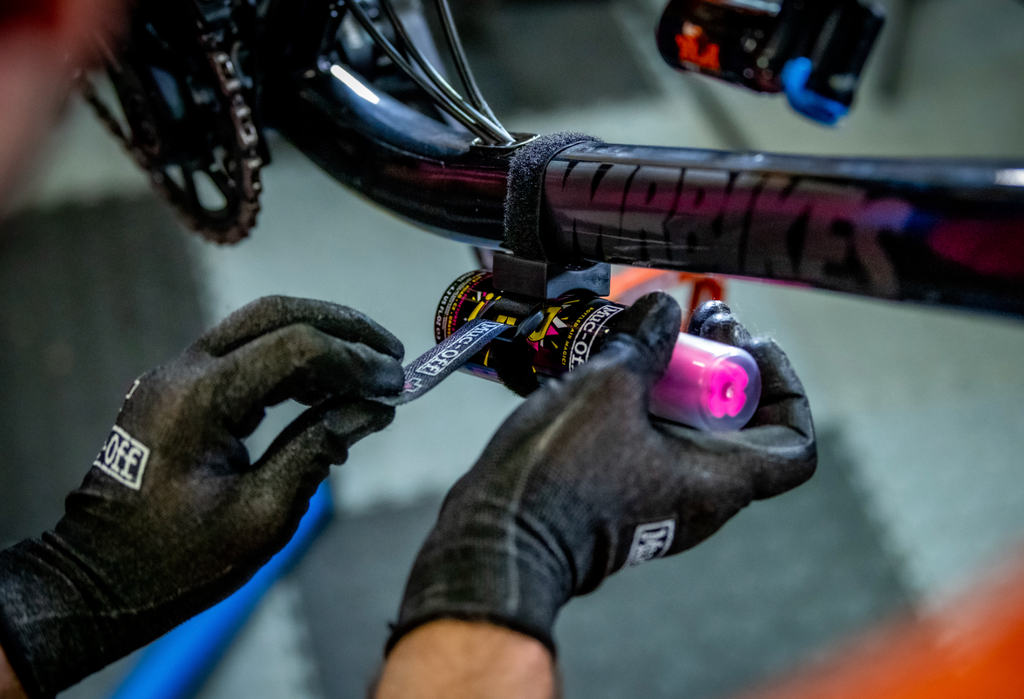
To make sure you’re never without your puncture repair in a can, we recommend pairing it with one of our Utility Belts (sold separately). It's super easy to mount – here's how you do it:
- Step 1: Start by undoing the strap and place the non-slip rubber side against your seat post or frame.
- Step 2: Loop the strap around your seat post or frame, then through the other side of the rubber.
- Step 3: Place the can in between the rubber and strap before bringing the strap back around over the can.
- Step 4: Feed it through the plastic clip at the end, then back on itself and pull tightly to secure the strap into place.