Tubeless tyre setups have been around for a while now in the mountain bike scene, and are now becoming increasingly popular among gravel, and even road cyclists. It just makes sense. A tyre that seals its own punctures is a pretty incredible thing. If you’re going to run a tubeless setup, you’ll definitely need the key ingredient that makes that magic happen: tubeless sealant.
What are the benefits of running tubeless?
- Eliminate pinch flats: caused when you over-compress and pinch the inner tube.
- Reduced rolling resistance: as the tyre is more compliant without having a tube in there. Reduced resistance equals a faster (and smoother) ride!
- Increase comfort and control: with a more pliable tyre, you can shred rooty, rocky corners with ease too!
- Less faffing, more shredding: of course, you'll spend less time fixing flats, so you’ll be first to the pub/ café stop!
How much tubeless sealant should I use?
This will depend on the size of your tyres. On the back of our pouches and boxes there’s a handy guide with fill lines marked for each tyre size.
- Road: 30 to 45ML (2 to 3 scoops)
- MTB 26” & 27”: 60 to 75ML (4 to 5 scoops)
- Cross 700CC: 60 to 75ML (4 to 5 scoops)
- MTB 29”: 105 to 140ML (7 scoops or whole pouch)
- Downhill: 120 to 140ML (8 scoops or whole pouch)
How often should you add tubeless sealant to your tyres?
It all depends how often you ride! If you’re riding at least 1-2 times a week, the sealant should last as long as the tyre does.
What tyre pressures should I run when using a tubeless setup?
It totally depends on the size of your tyres and the manufacturers recommendation. Our Tubeless Sealant works from 15psi to 120psi and temperatures from -20C to +50C.
How can I tell if my tubeless sealant has sealed a puncture?
Our Tubeless Sealant formula contains a UV detection system that highlights any punctures you haven’t spotted during your ride. Simply shine the UV torch, included with the sealant, onto the tyre and it’ll light up!

What you'll need
- Tubeless Sealant Kit
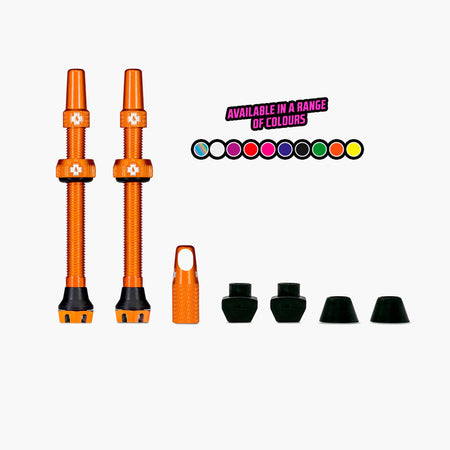
- Rim Stix
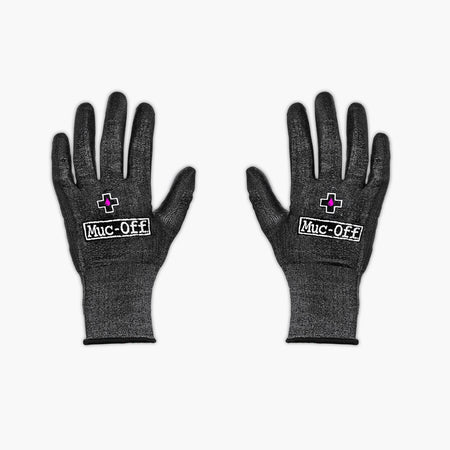
- Mechanics Gloves
- Tubeless Specific Pump
(If this is the first time you've ever done a tubeless setup on your bike, head over to our 'How to prepare your bike for tubeless setup' guide).
How to add Tubeless Sealant
Keeping the tyres on (the quickest easiest way!):
- STEP 1: Release any existing air in your tyres – use our handy core removal tool to speed up the process.
- STEP 2: Place our Tubeless Sealant pouch over the valve, squeeze the desired amount of sealant in.
- STEP 3: Put the valve core back in.
- STEP 4: Give the wheels a spin to ensure that the sealant is evenly distributed.
- STEP 5: Pump your tyres to the desired pressure.
PRO TIP: Once the tyre is up to pressure, take the wheel off and bounce it lightly along the ground while rotating. This is going to give you the best coverage between the tyre and the rim to minimise any air loss.
Removing the tyres:
- STEP 1: Release any existing air in your tyres – use our handy core removal tool to speed up the process.
- STEP 2: Use a Rim Stix to unseat the tyres from the rim.
- STEP 3: Squeeze our Tubeless Sealant pouch directly into the tyres to the desired amount.
- STEP 4: Use your thumbs to push the bead of the tyre back inside the rim. Use a Rim Stix to help you lever the rest of the tyre onto the rim, but be careful not to damage the Rim Tape finishing at the valve.
- STEP 5: Give the wheels a spin to ensure that the sealant is evenly distributed.
- STEP 6: Pump your tyres to the desired pressure.

With our tubeless sealant installed, there's only one thing left to to... GO SHRED!